Skip to content
When I first stepped into the field of injection molding, I never imagined I’d one day understand how these complex machines were made—let alone guide others. But if you’re reading this, you’re probably just like I was: curious, practical, and hungry to learn.
To make a vertical injection molding machine[^1], you need to understand its structure, choose precise components, integrate power and control systems, and ensure the safety and stability of its operations.
This isn’t a weekend project. But if you want to really get how these machines work—or even attempt a scaled-down version—I’ll walk you through it. Let’s break the big question into manageable parts.
[Table of contents]
Can you DIY injection molding?
Most people think only big factories can do injection molding. That’s mostly true—but not always.
You can build a small, manual injection molding machine for simple prototyping. But it won’t match industrial-level precision, pressure, or output speed.
What does a DIY setup look like?
Here’s a typical setup that DIYers or small inventors use:
| Part | DIY Alternative |
|---|---|
| Heating system | Cartridge heaters or hot plates |
| Injection method | Lever press or hand screw |
| Mold material | CNC-milled aluminum or 3D-printed mold |
| Clamping | Toggle press or vise |
| Safety | Basic enclosure (often skipped) |
Use Cases
- Prototyping small parts
- Testing new mold ideas
- Low-volume batches (100 pcs or less)
⚠️ You’ll need to monitor heat and injection pressure manually. Errors are common.
Is injection molding a CNC?
This question pops up a lot. They both involve machines, code, and precision—but that’s where the similarities end.
Injection molding is not CNC. CNC is a subtractive process that cuts material, while injection molding is a forming process using heat and pressure to shape plastic in molds.
How CNC and injection molding differ
| Feature | CNC | Injection Molding |
|---|---|---|
| Type | Subtractive (cuts away) | Formative (injects into shape) |
| Materials | Metals, plastics, composites | Thermoplastics, some rubbers |
| Production Volume | Low to medium | Medium to high |
| Setup Time | Short | Long (but faster cycle after setup) |
But one important note—CNC is often used to make the molds used in injection molding. That’s why the confusion exists.
What is the basic injection molding machine?
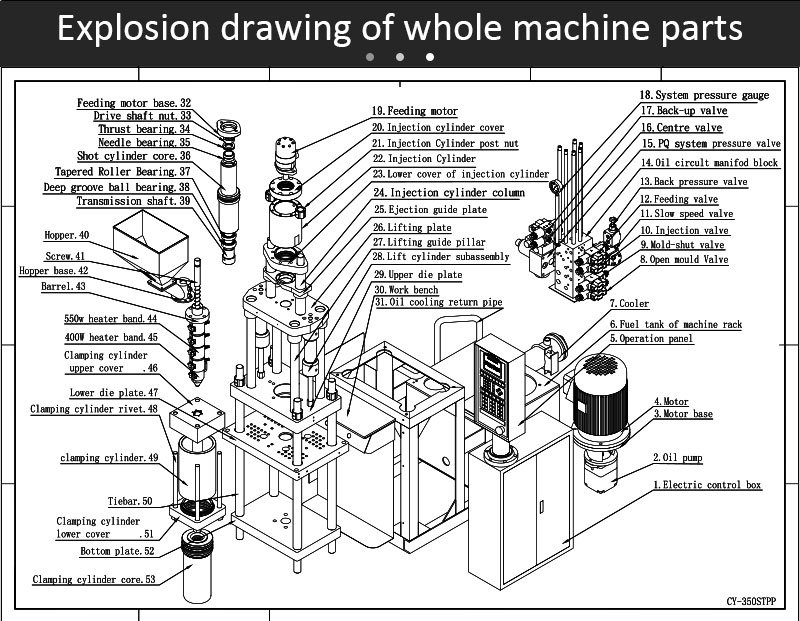
If you want to understand how to build or use one, start by understanding its five basic parts.
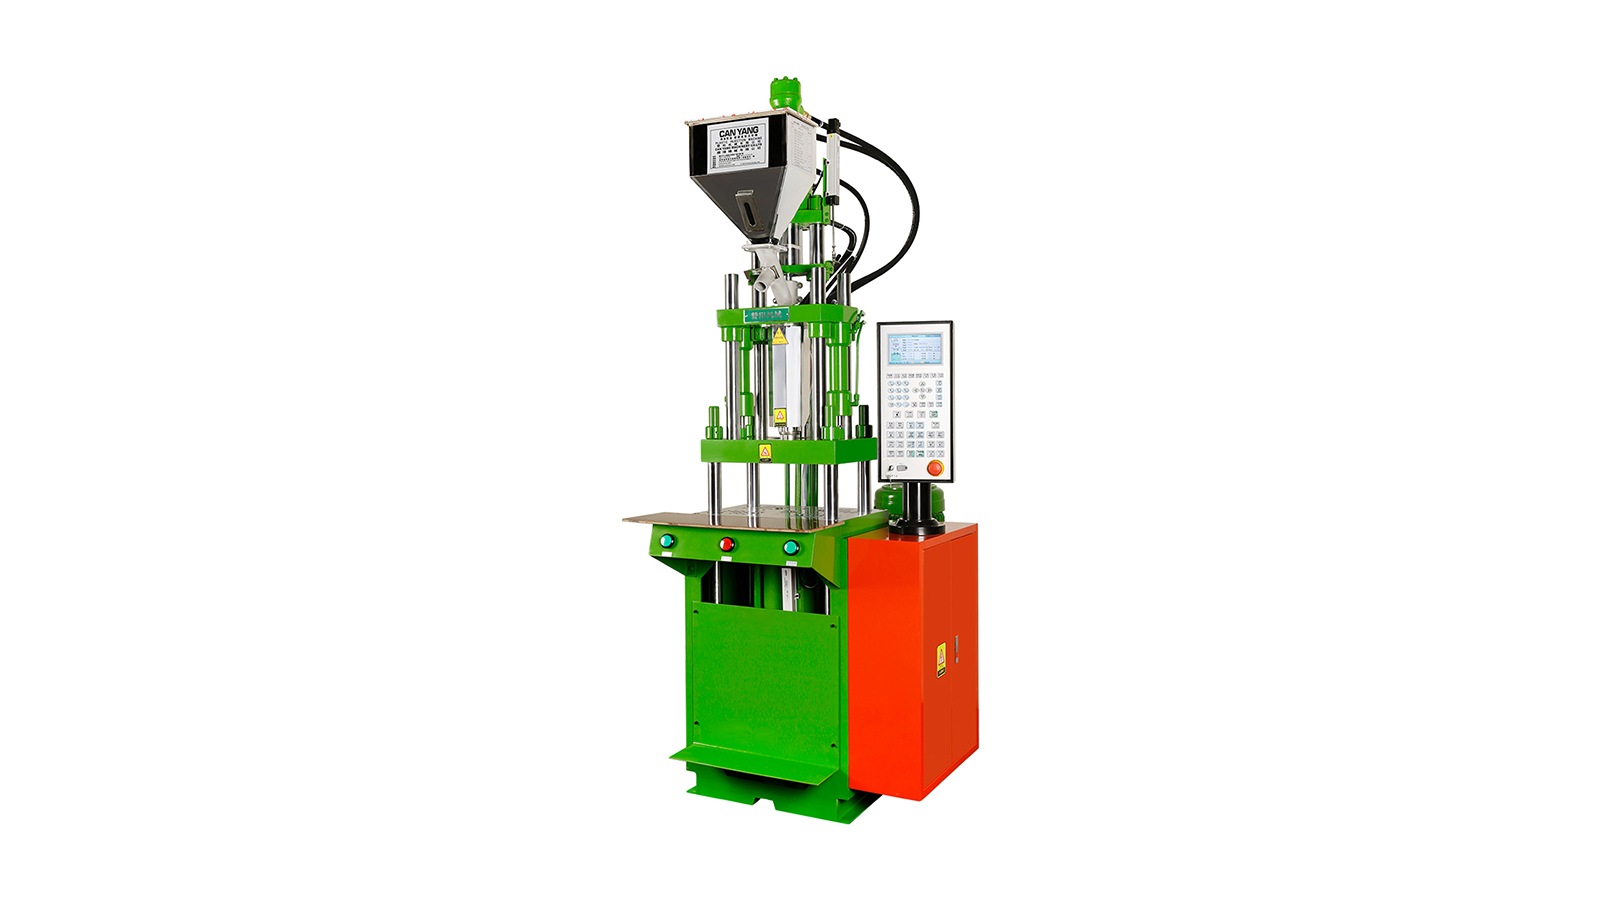
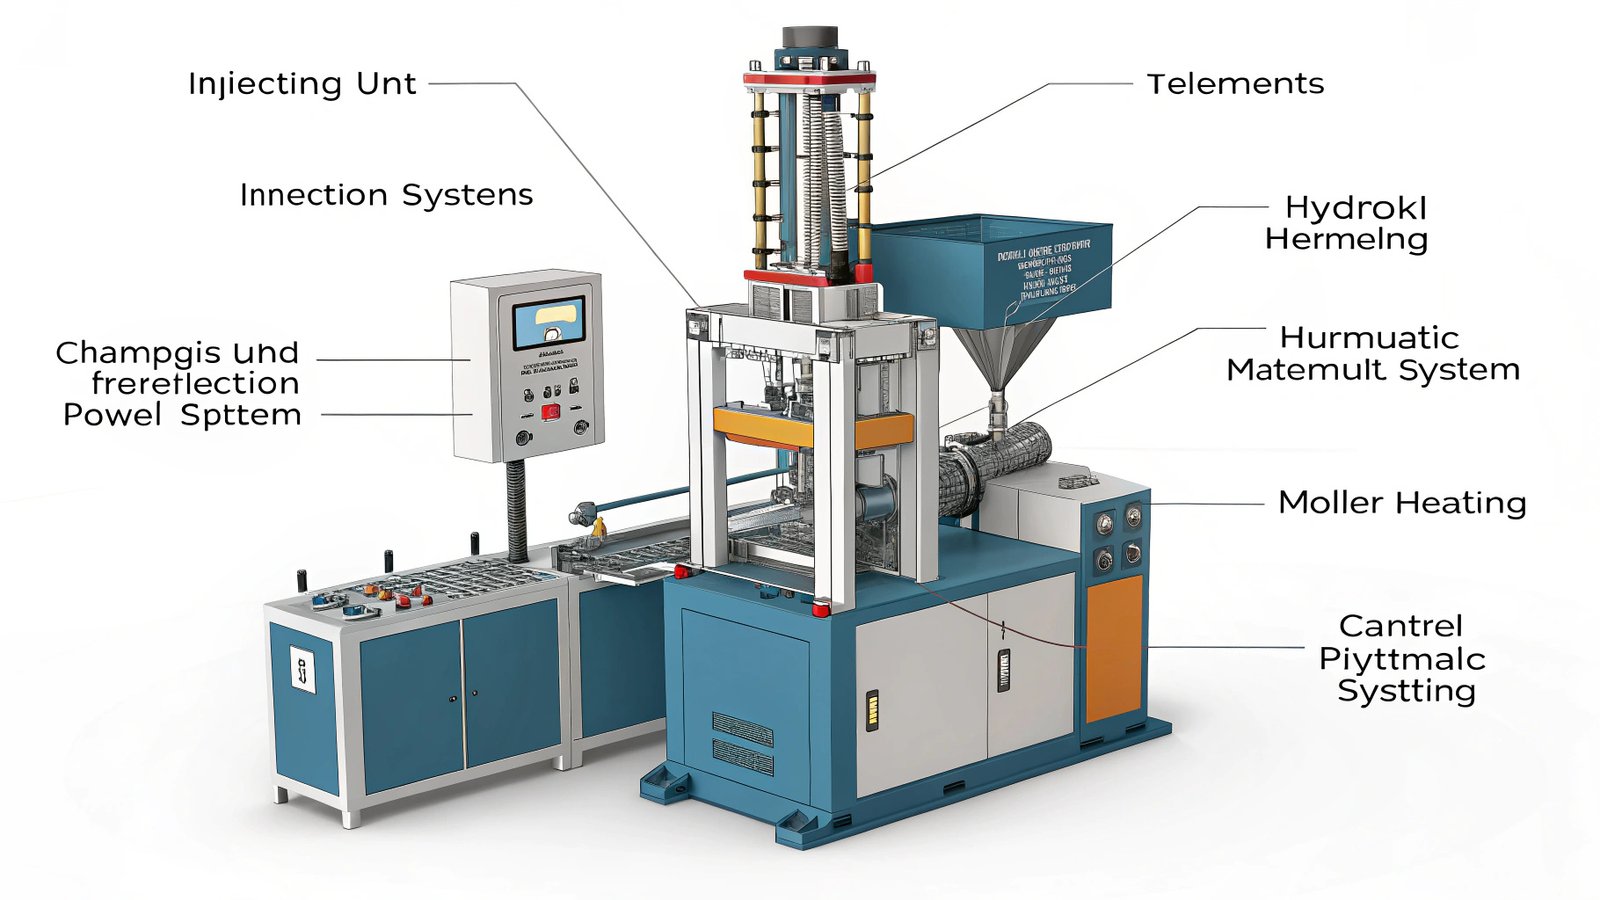
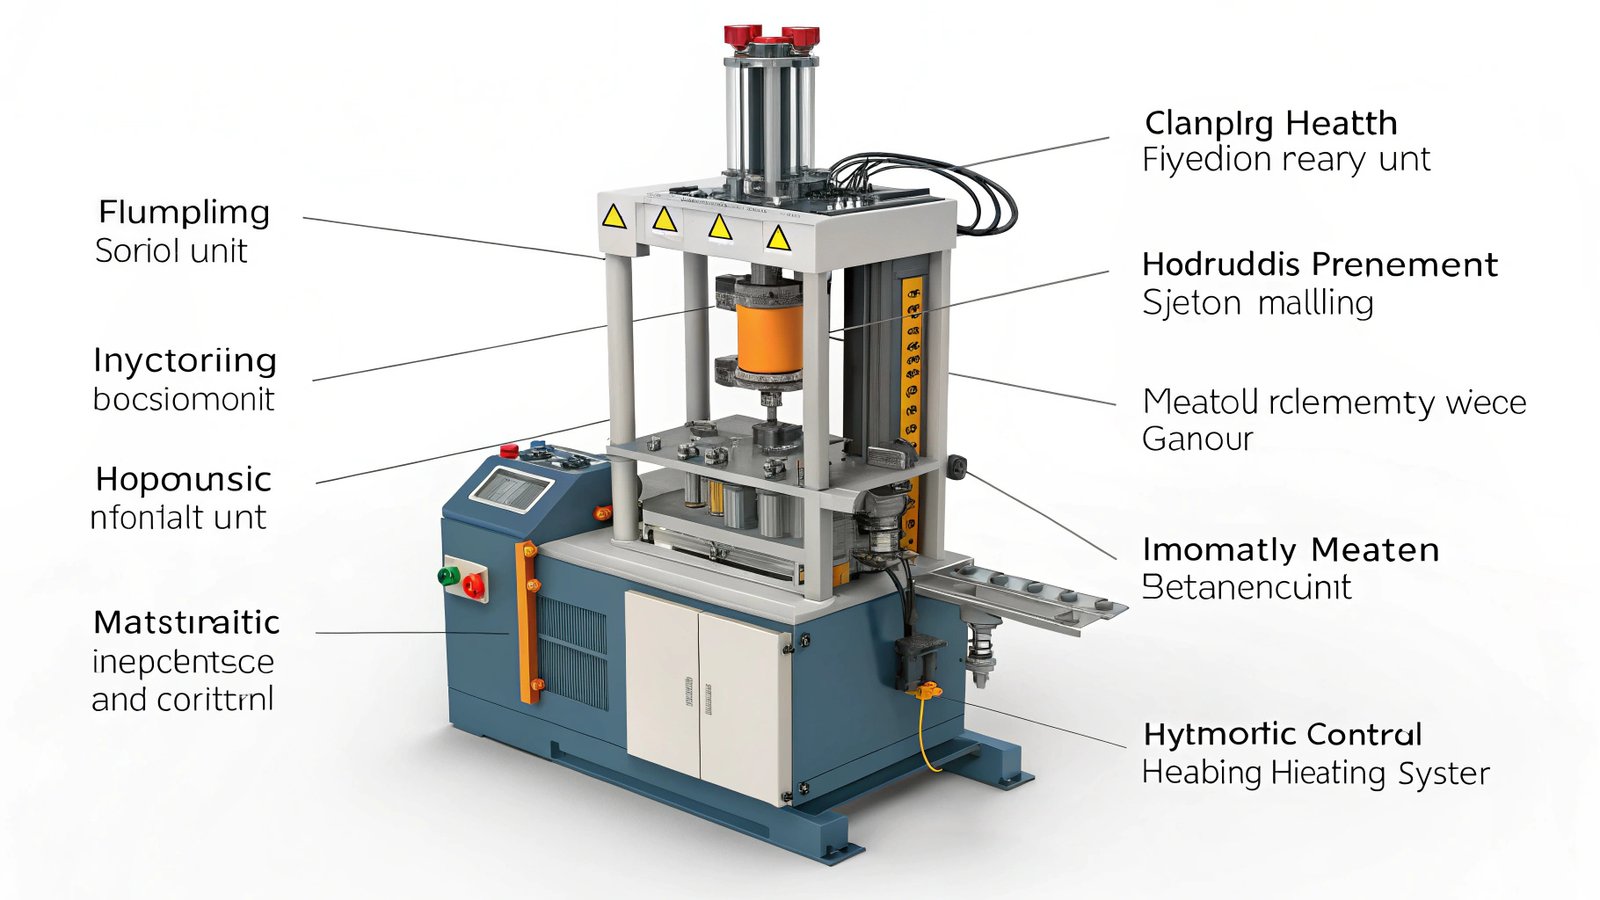
A basic vertical injection molding machine[^1] includes a clamping unit, injection unit, hydraulic/pneumatic system, heating elements, and control system. Each part plays a key role in the molding cycle.
Core Components Explained
1. Injection Unit
- Function: Melts and injects plastic
- Main parts: Barrel, screw, nozzle
- Needs: Temperature control, back pressure adjustment
2. Clamping Unit
- Function: Holds mold together during injection
- Options: Hydraulic, toggle, or electric
- Vertical Advantage: Easier for insert molding
3. Mold
- Material: Usually hardened steel or aluminum
- Customization: Cavities shaped for your part
4. Control Panel
- Interface: PLC touchscreen or button system
- What it does: Sets injection speed, temperature, clamp force, and ejection timing
5. Frame + Safety System
- Built with high-rigidity steel
- Includes doors, sensors, emergency stops
Building even a simple version of each of these parts takes mechanical skills, electrical integration, and experience with thermoplastics.
What are the 5 steps of injection molding?
The heart of molding isn’t just the machine—it’s the cycle. Every cycle has 5 steps, repeated over and over.
The 5 steps are: mold closing, plastic injection, cooling, mold opening, and part ejection. Each step must be tightly timed and monitored.
Step-by-Step Process
1. Mold Closes
- Clamping system applies high pressure.
- Prevents plastic leakage.
2. Injection Phase
- Plastic is heated to ~200–280°C.
- Screw or plunger injects it into the mold cavity.
3. Cooling Phase
- Mold remains closed.
- Internal water lines reduce part temperature.
4. Mold Opens
- Clamps release.
- Mold halves separate.
5. Part Ejection
- Ejector pins push part out.
- Cycle resets.
Total cycle time? Usually 15–60 seconds. A well-built machine reduces that.
Conclusion
Making a vertical injection molding machine[^1] isn’t just engineering—it’s strategy, testing, and precision working together. Whether you’re dreaming of building your own or just trying to understand how it all works, I hope this gave you a clear, honest path to begin.
About Me
Name: Lida Cao
Position: Founder & CEO of zanyang
Email: zanyang@sz-txw.org
Website: https://vertomold.com/
Brand Name: zanyang
Country: Guangdong, China
About zanyang
At Zanyang, we don’t just make machines—we build solutions for factories, entrepreneurs, and industry leaders around the world. From our vertical injection molding systems to full automation support, we help companies produce smarter, faster, and better.
[^1]: Explore this link to gain a deeper understanding of vertical injection molding machines and their applications in manufacturing.